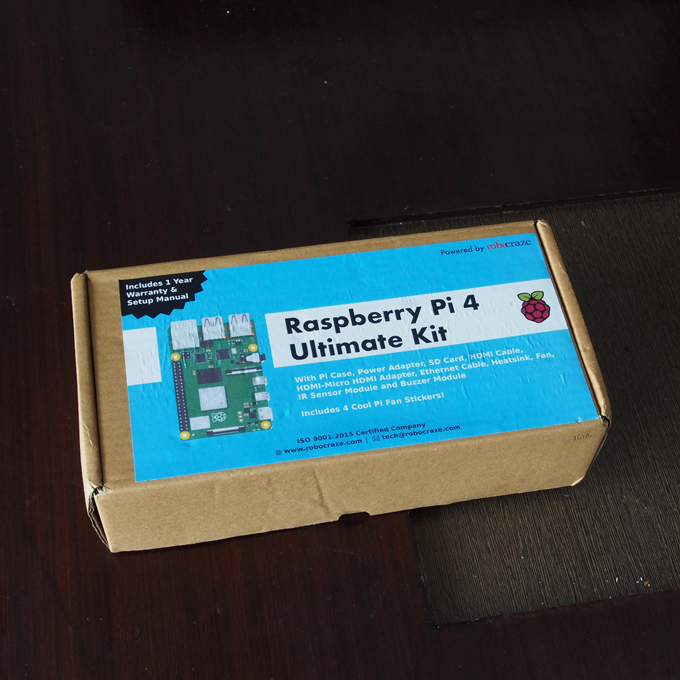
Raspberry Pi 4 KIT が届きました。インドで注文したものです。英語の簡単なマニュアルが付いていました。簡単すぎないか、これ?
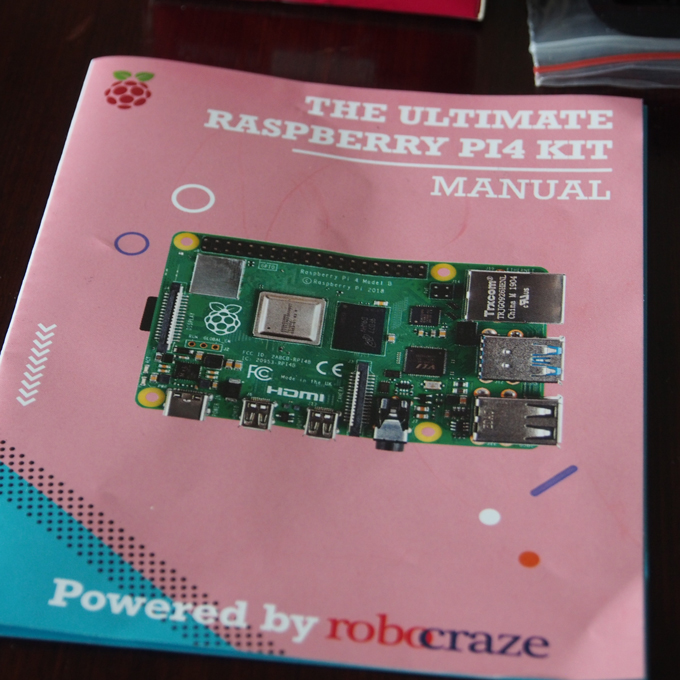
Raspberry Pi 4 Kit manual
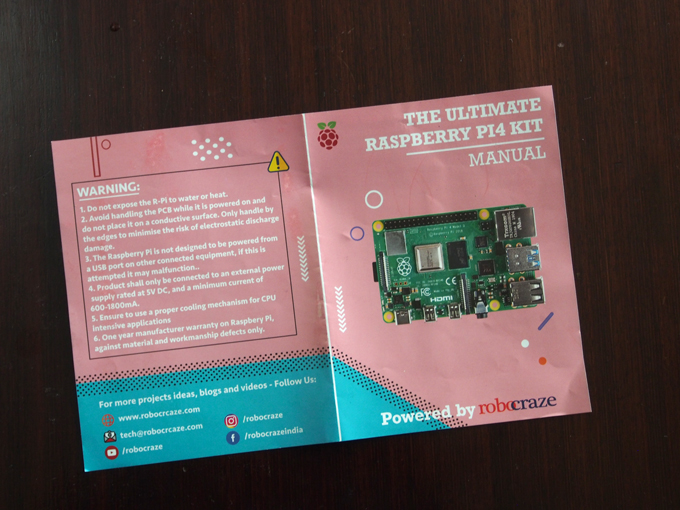
マニュアル表面 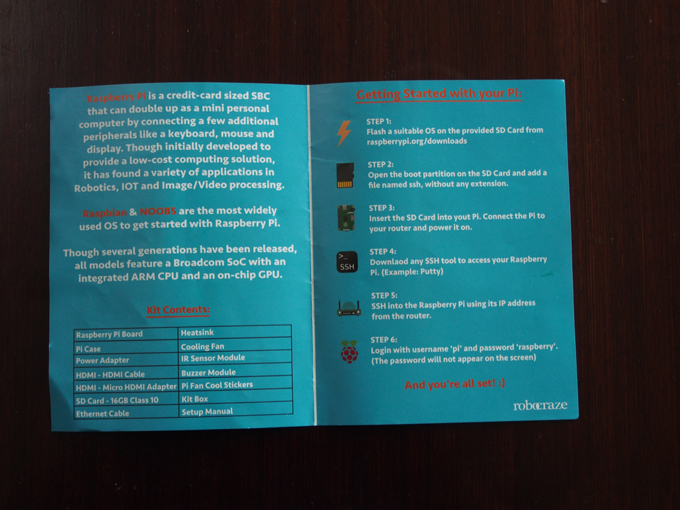
マニュアル中面
step1:Flash a suitable OS on the provided SD Card from raspberrypi.org/downloads step1:Flash a suitable OS on the provided SD Card from raspberrypirg/downlads
(raspberrypi.org/downloadsから提供されたSDカードで適切なOSをフラッシュする)
step2:Open the boot partition on the SD Card and add a file named ssh, without any extension.
(SDカードのブートパーティションを開き、拡張子なしのsshという名前のファイルを追加します。)
step3:Insert the SD Card into yout(←yourの間違い?) Pi. Connect the Pi to your router and power it on.
(SDカードをあなtのPiに挿入します。 Piをルーターに接続し、電源を入れます。)
step4:Download any SSH tool to access your Raspberry Pi. (Example: putty)
(SSHツールをダウンロードして、Raspberry Piにアクセスします。 )
step5:SSH into the Raspberry Pi using its IP address from the router.
(ルーターからのIPアドレスを使用してRaspberry PiにSSH接続します。)
step5:Login with username ‘pi’ and password ‘raspberry’. (The password will not appear on the screen)
(ユーザー名「pi」とパスワード「raspberry」でログインします。 パスワードは画面に表示されません。)
Raspberry Pi 4 Kit の同梱物
電源周りはセットになっているものが安心ですが、きちんと確認できるなら
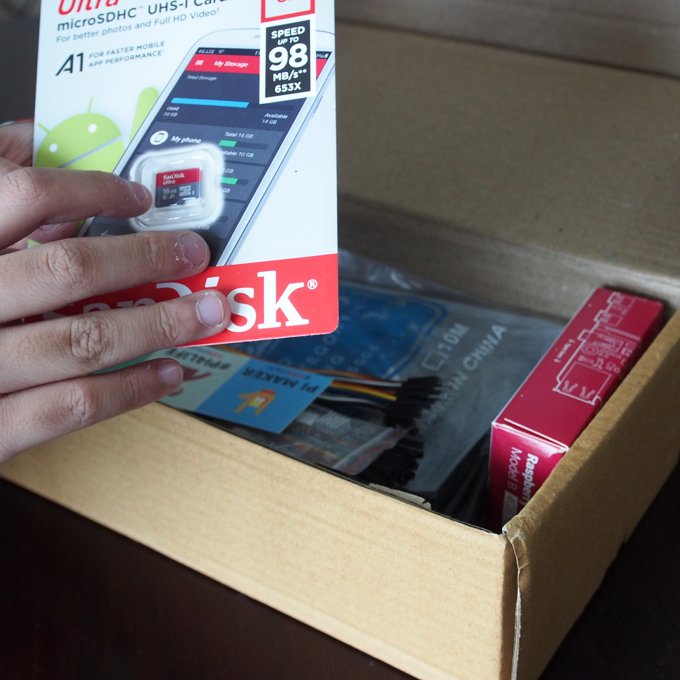
Raspberry Pi 4 KITを開けてみました。同梱物を確認します。画面左上から、LANケーブル、GPIOケーブル、シール、HDMI/microHDIMコネクタ、HDMIケーブル、ACアダプター、USB/USB-Cケーブル、パーツ二つ、ネジ。
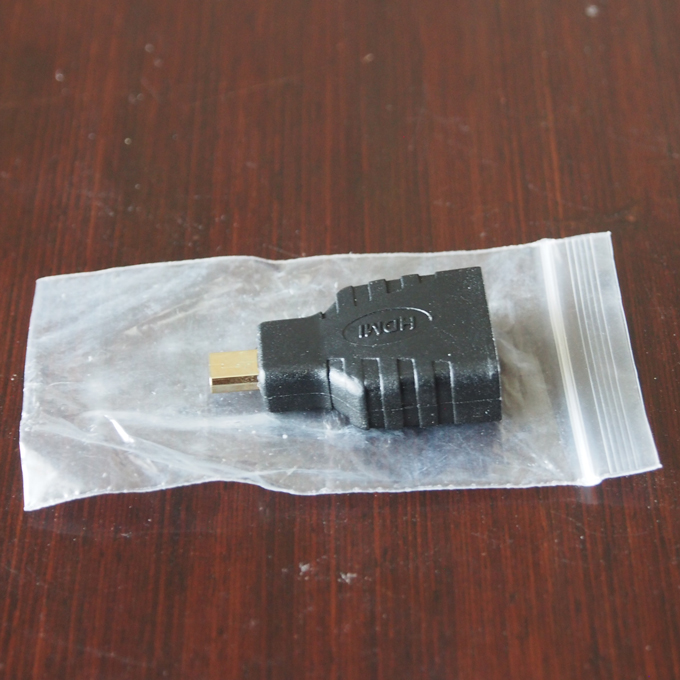
hdmi-microhdmi 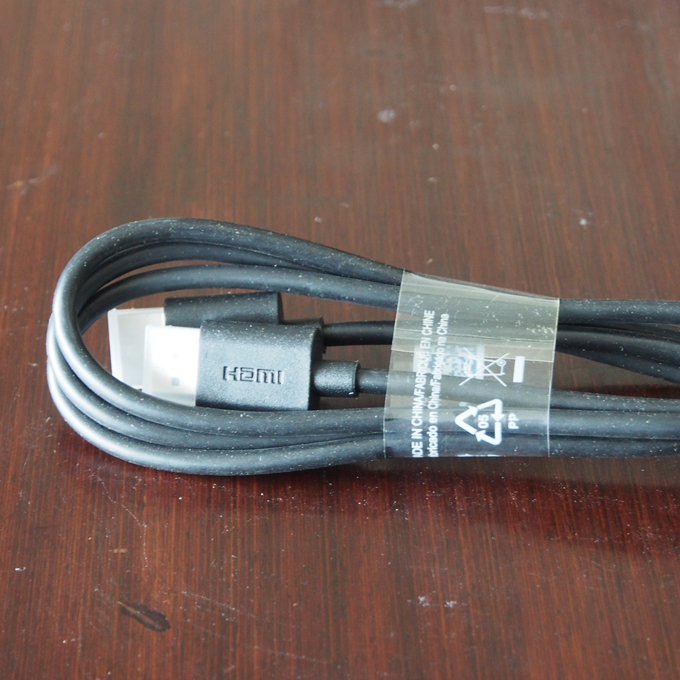
hdmi cable 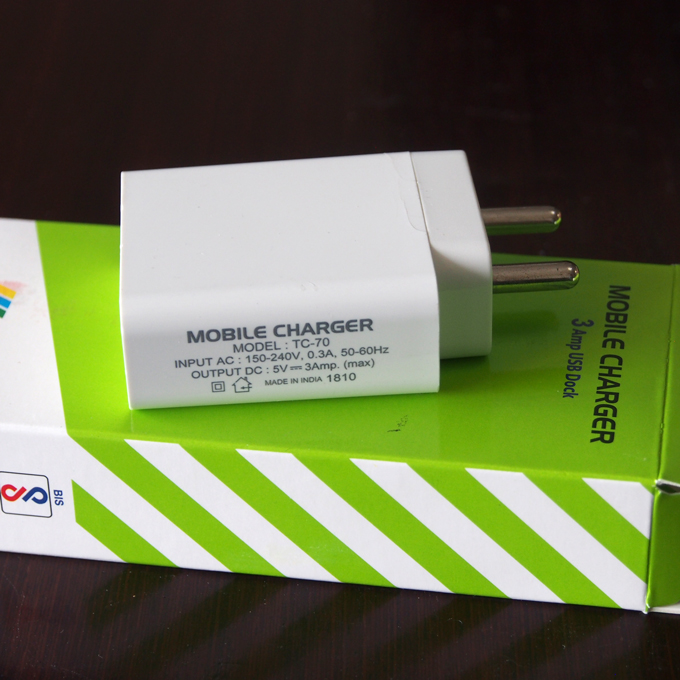
ac adapter 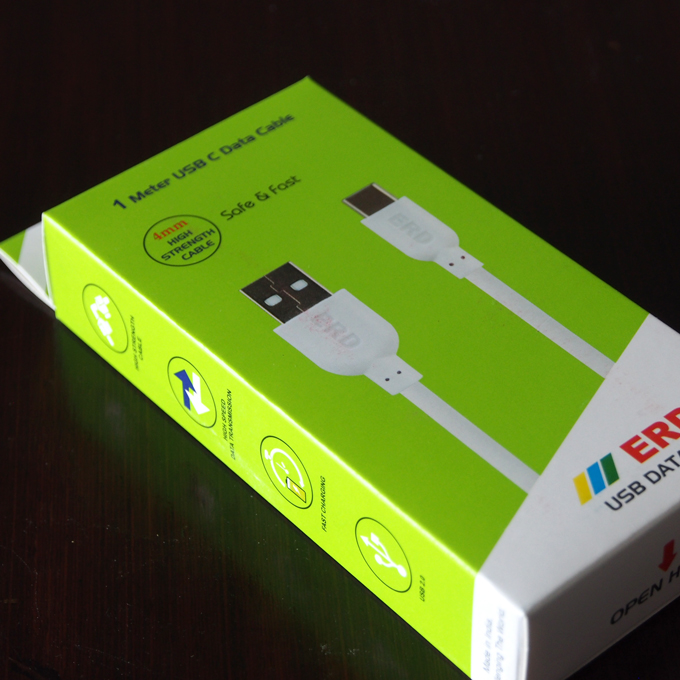
usb-c cable 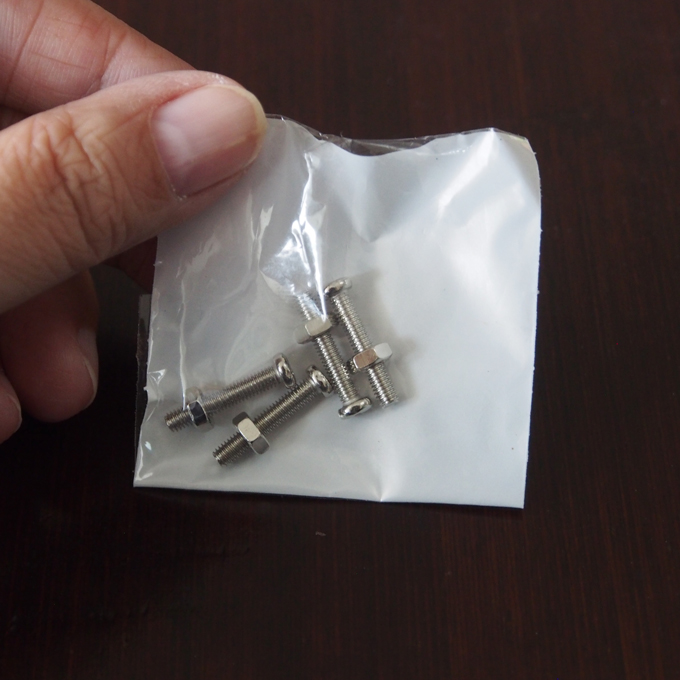
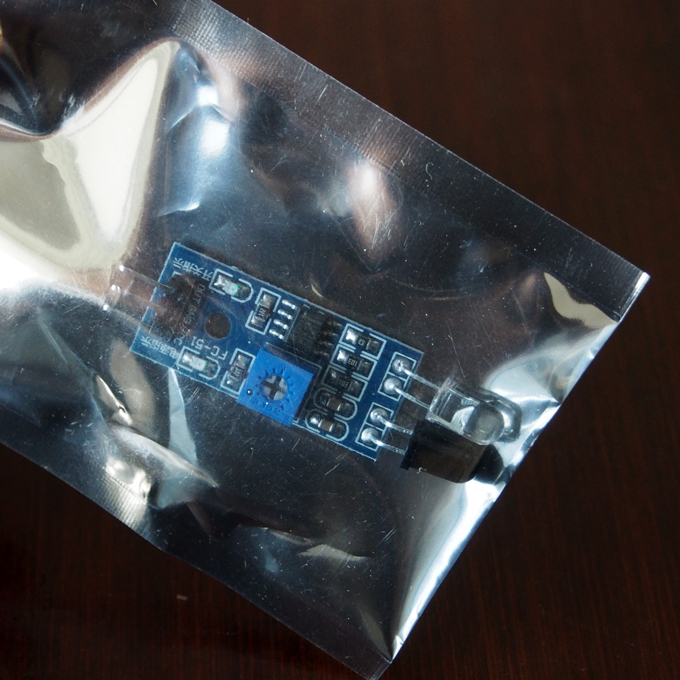
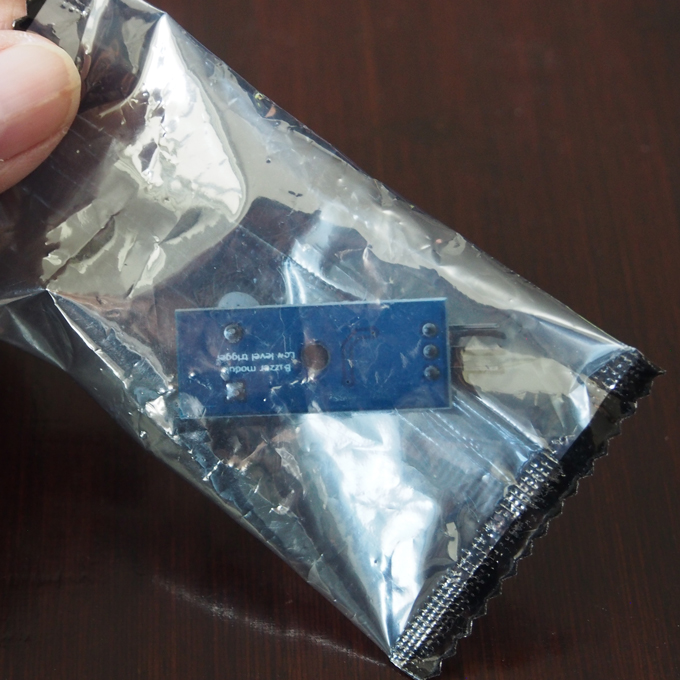
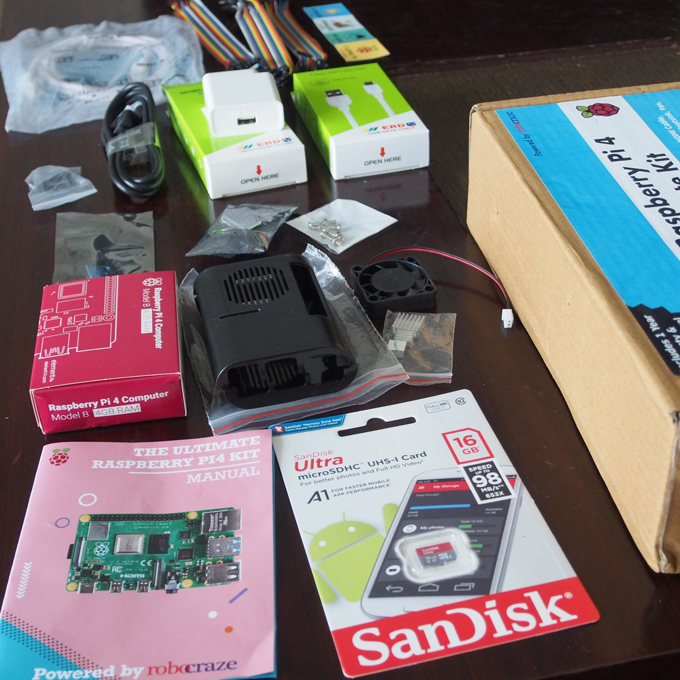
画面の真ん中あたりから手前まで。赤い箱がRaspberry Pi 4 モデルB本体、ケース、ファン、ヒートシンク、マニュアル、SDカード。

manual 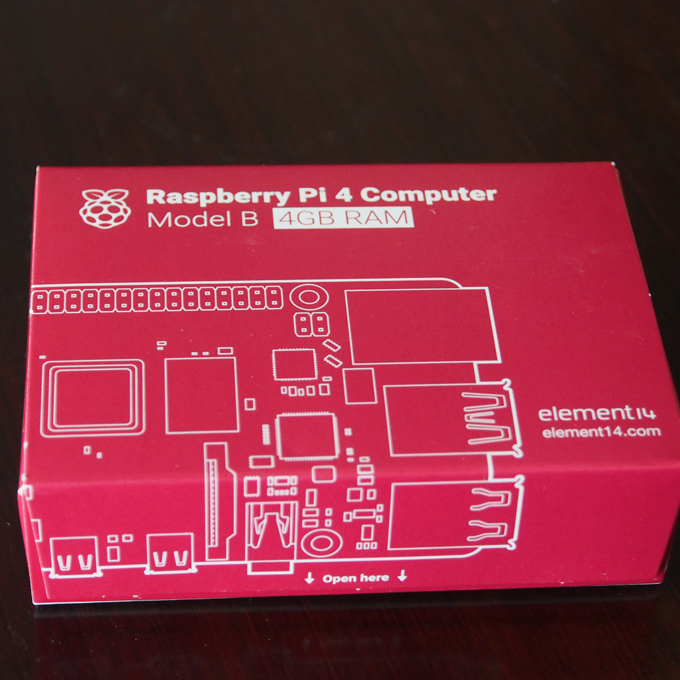
raspberry pi 4 B 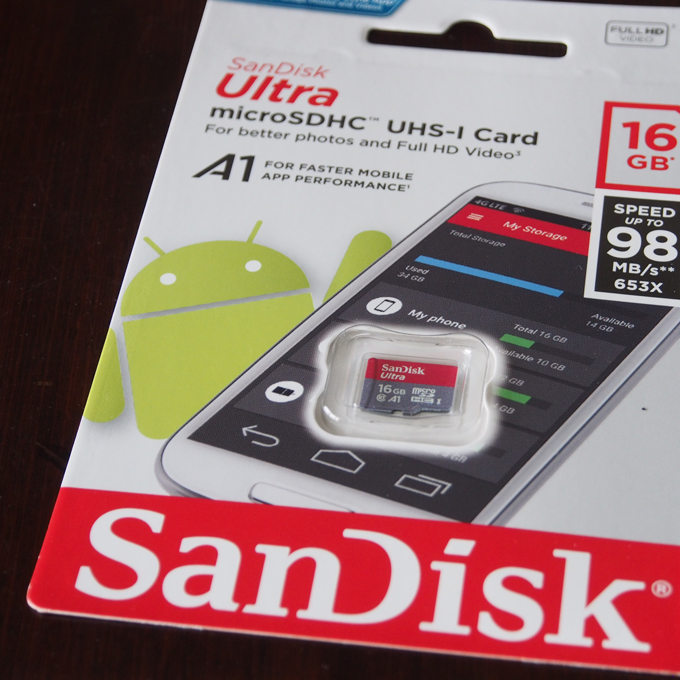
SD card 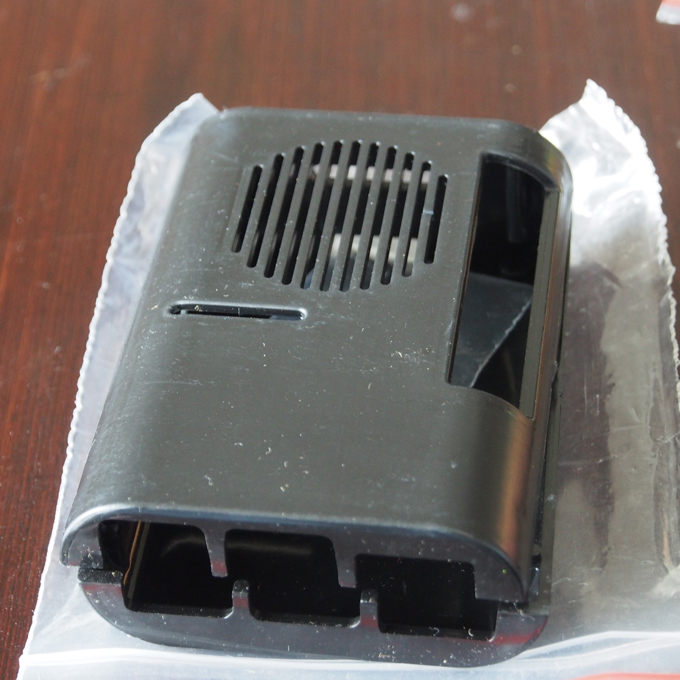
case 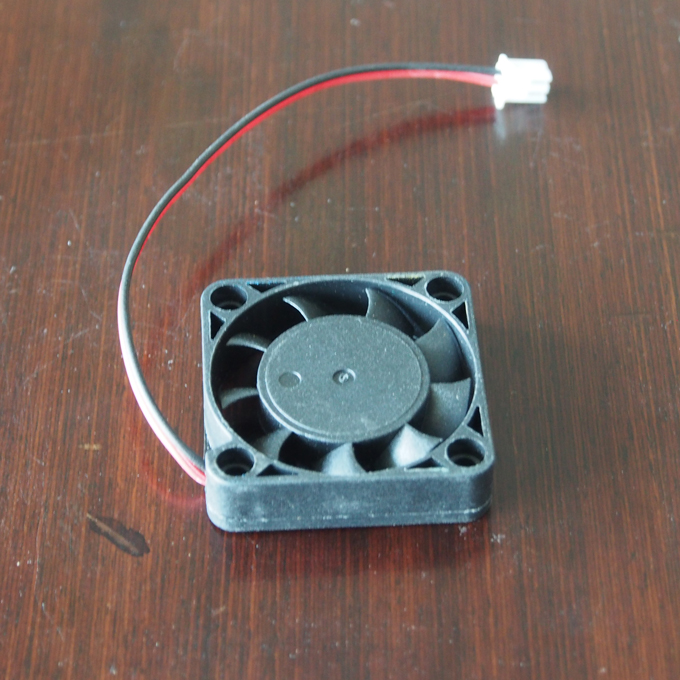
fan 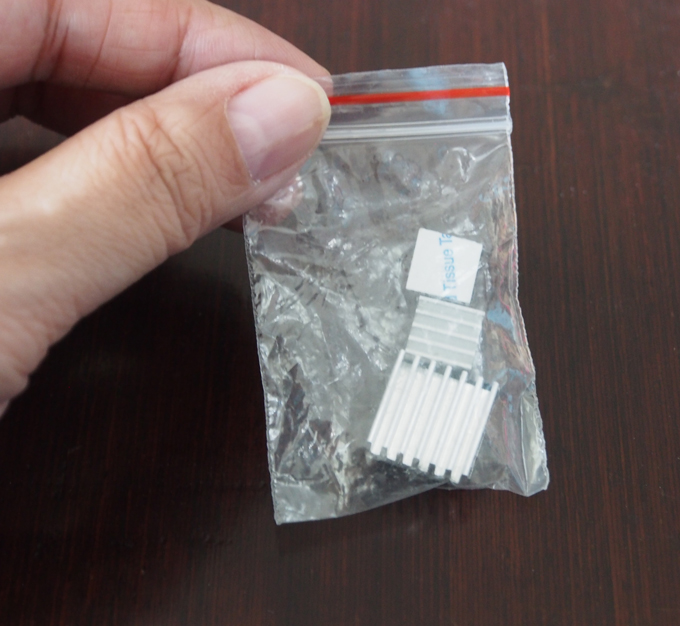
heat sink
安全を期して、セットを購入しましたが、使わないものもたくさんあります。次は必要なものだけ買おうかな。